 saRa
How to set up a new ISP in saRa
Steps
Sign in at /login as the Owner or a super admin and open Platform →
ISPs
.The Owner login is made on the server with the command 'isp owner create <user>'; super admins are added by the Owner under Platform →
Administrators
→Add super admin
.Click
Add ISP
(a large popup).The platform dashboard has the same button.
In the section
The ISP
fillName customers know it by
andCode
, pick theTime zone
, and add Phone, Email, Address, Owner, Registration number, Website, Facebook page, Instagram and YouTube channel if you want.The
Code
is short and permanent (2 to 32 small letters, digits or dashes, starting with a letter or digit): it becomes the ISP's Quick Pay link /pay/<code> and its RADIUS group name, so it cannot be changed later. The time zone is used for expiry times, reminders and reports.In the section
Its first administrator
fillFull name
,Username
,Mobile
,Email
(optional),CNIC
andPassword
.The password needs at least 8 characters with letters and a number or symbol. Give it to the administrator; they sign in at /login.
Click
Add ISP
.saRa shows 'ISP added. <username> can sign in at /login now and set it up.' and opens the new ISP's page with tabs
Administrators
,Branches
andDetails
.Optional, on the ISP page: use the
More
menu forAdd administrator
,Logo
,Browser icon
andApp keys
, or pressOpen this ISP
to work inside it as the Owner / super admin.Switch off ISP
(also inMore
) stops every staff, partner and customer sign-in of that ISP; its customers' internet keeps working.Switch on again
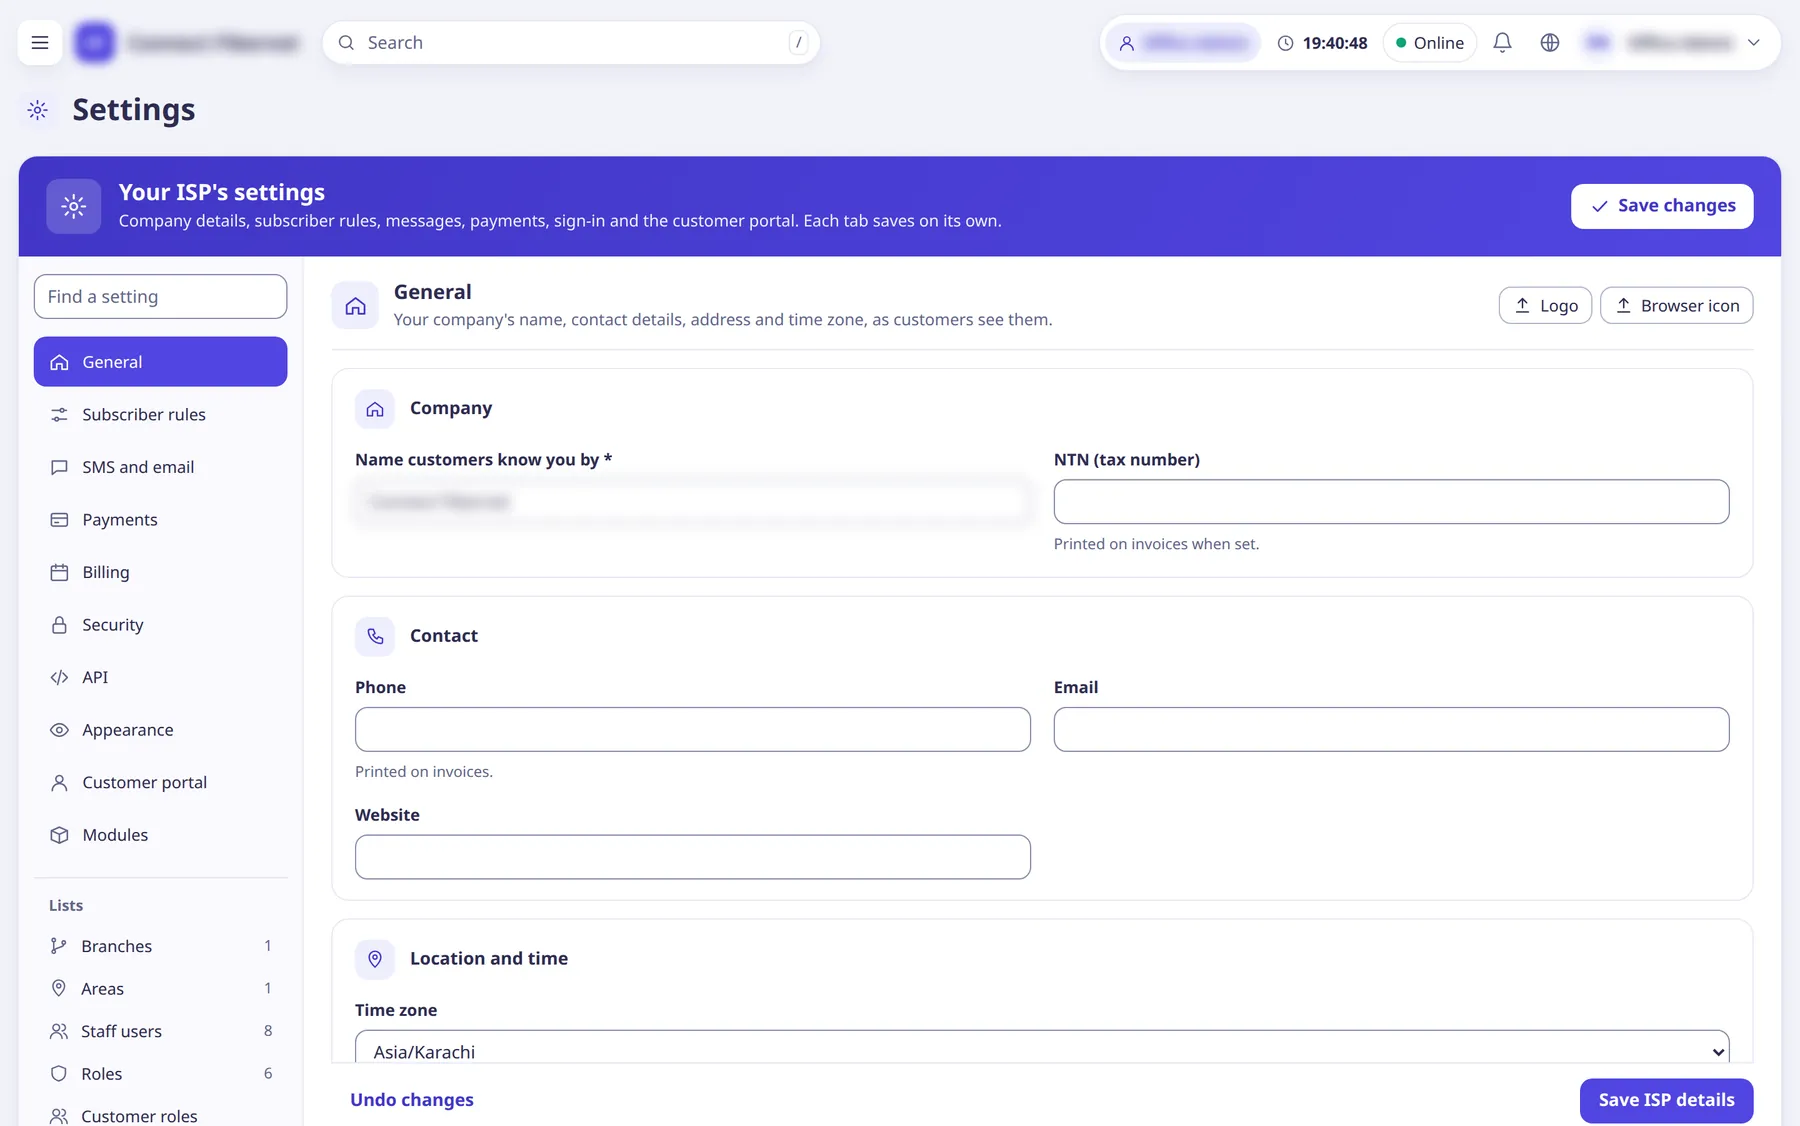
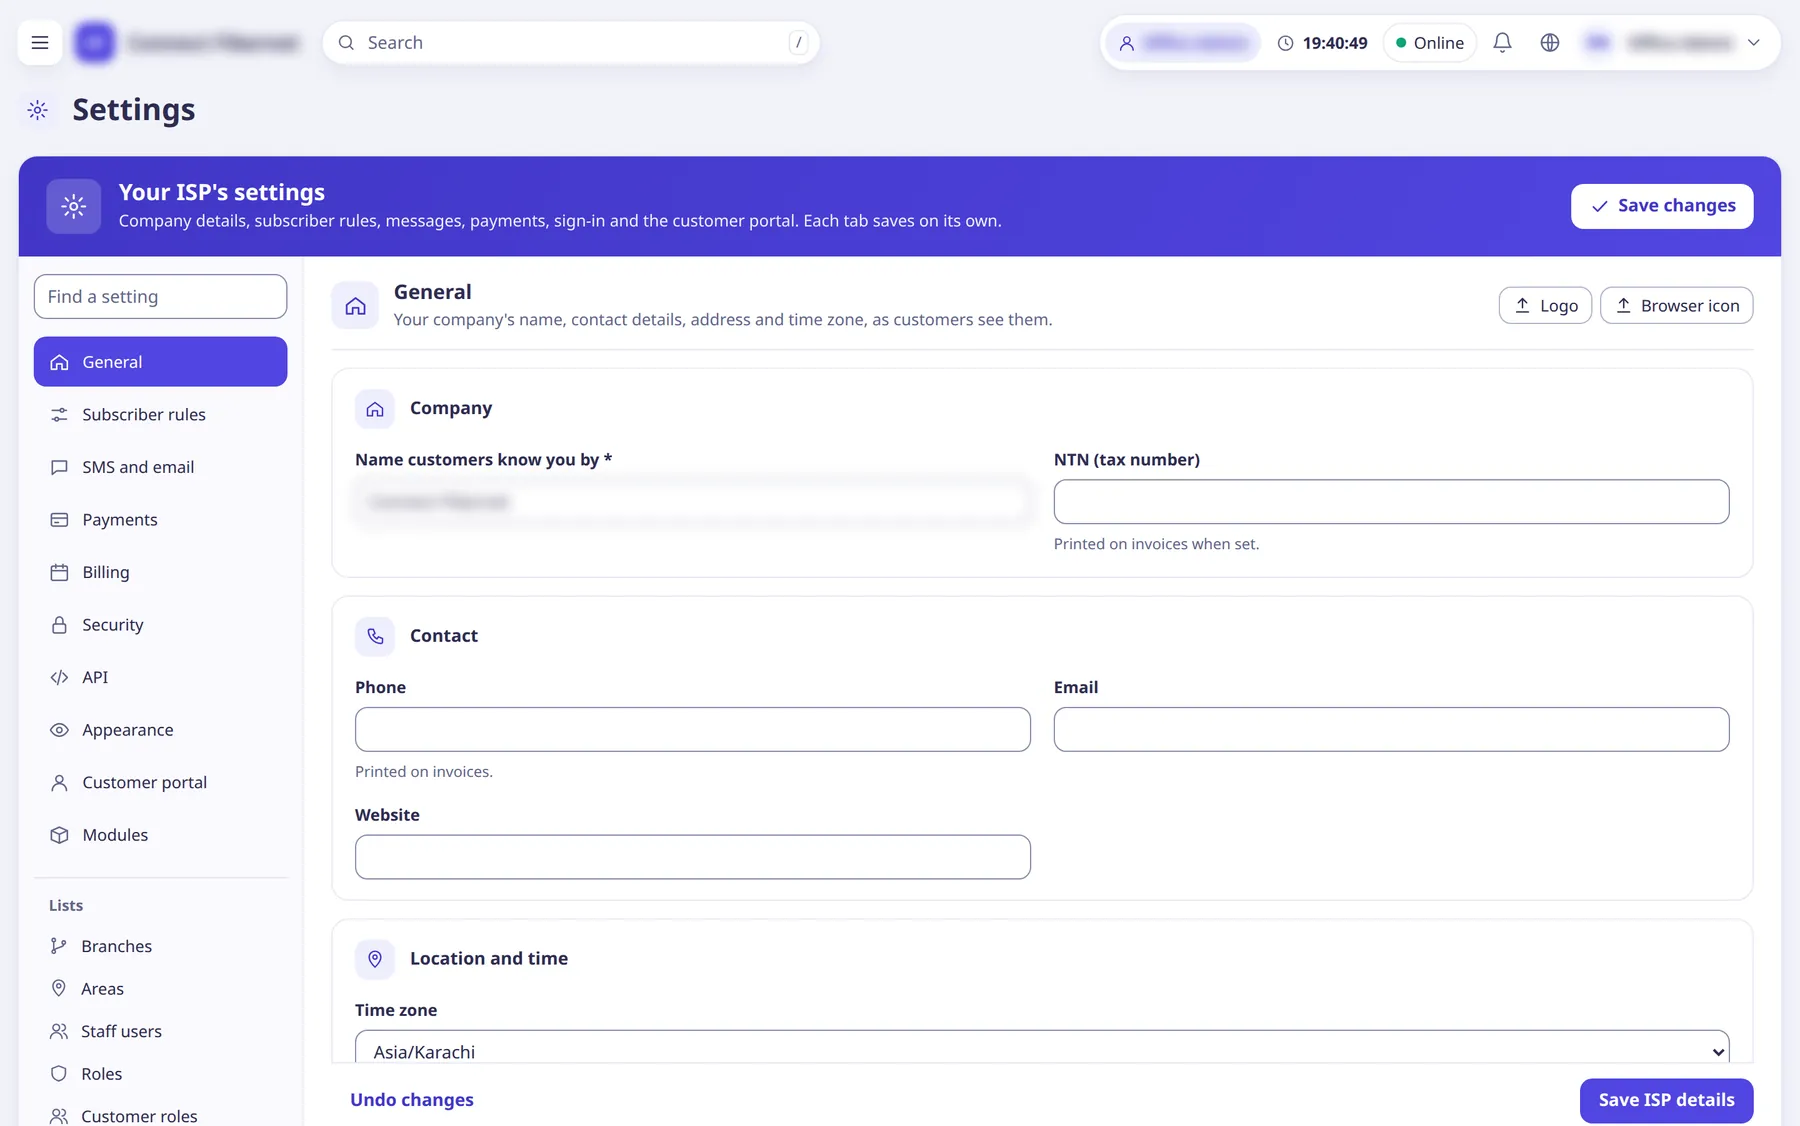
reverses it.The ISP's administrator signs in at /login and opens Settings (the last menu entry) →
General
: checkName customers know you by
, NTN, contact details,Time zone
, address and theNote at the bottom of invoices
, then clickSave ISP details
.Other Settings tabs:
Subscriber rules
,SMS and email
,Payments
,Billing
,Security
,API
,Appearance
,Customer portal
,Modules
.Add the office structure: Staff →
Branches
→Add branch
(Branch name, Phone, Address) and Area →Areas
→Add city
/Add area
.Branches are optional; once they exist, staff placed in a branch see only that branch's subscribers and cash.
Then follow the next guides in order: add a router (Network →
NAS / routers
), create packages (Packages →Packages
), add staff (Staff →Staff
), add subscribers (Subscribers →All subscribers
).Settings →
Billing
also hasPause automatic billing
for ISPs moving over from another billing system.
What saRa does
saRa creates the ISP with its default settings, a built-in ISP Admin
hook role (administrator level, never given to staff), the six default staff roles (Manager, Accountant, Recovery officer, Support, Technician, Counter staff), the default customer role, the first administrator login, and the RADIUS group for expired customers (Framed-Pool expired-pool and Mikrotik-Address-List expired). All of the ISP's data is separated from other ISPs by PostgreSQL row-level security.
Good to know
- One saRa installation serves many ISPs; each ISP only ever sees its own data.
- Platform →
Platform settings
holds platform-wide rules such as whether administrators must use two-step sign-in. - Platform →
Move subscribers
moves subscribers between ISPs.